Your computer’s display is an essential interface when working with vision applications. It allows you to visualize all sorts of data, especially image data from your vision components. However, not all monitors are created equal and you may get slightly different information from one monitor to the next. Even monitors from the same manufacturer, with the same model number, and connected to the same computer can display the same image with some variance in tonality or color.
Every monitor is different
Monitor calibration is an often overlooked yet crucial step in setting up your vision application, especially if visual inspection is the primary use for the camera. Monitors have a number of settings that can be manipulated to enhance certain aspects of the image such as brightness and contrast. However, pushing these settings too far from their default values often results in reduced image quality. It should also be noted that the number of settings your monitor has available for modification is a good indication of its intended use. For instance, higher end displays will allow tweaks to very specific settings to get the best possible color response and are usually intended for intensive graphics work or medical applications. For more standard displays, it is advisable to use the default values suggested by the monitor’s manufacturer because they are often the best settings for that monitor. An improperly calibrated monitor will often over saturate bright portions of an image or under saturate dark portions.
Understanding the white point and dark point
As a quick example, viewing the following images will highlight the white point and dark point of your display.
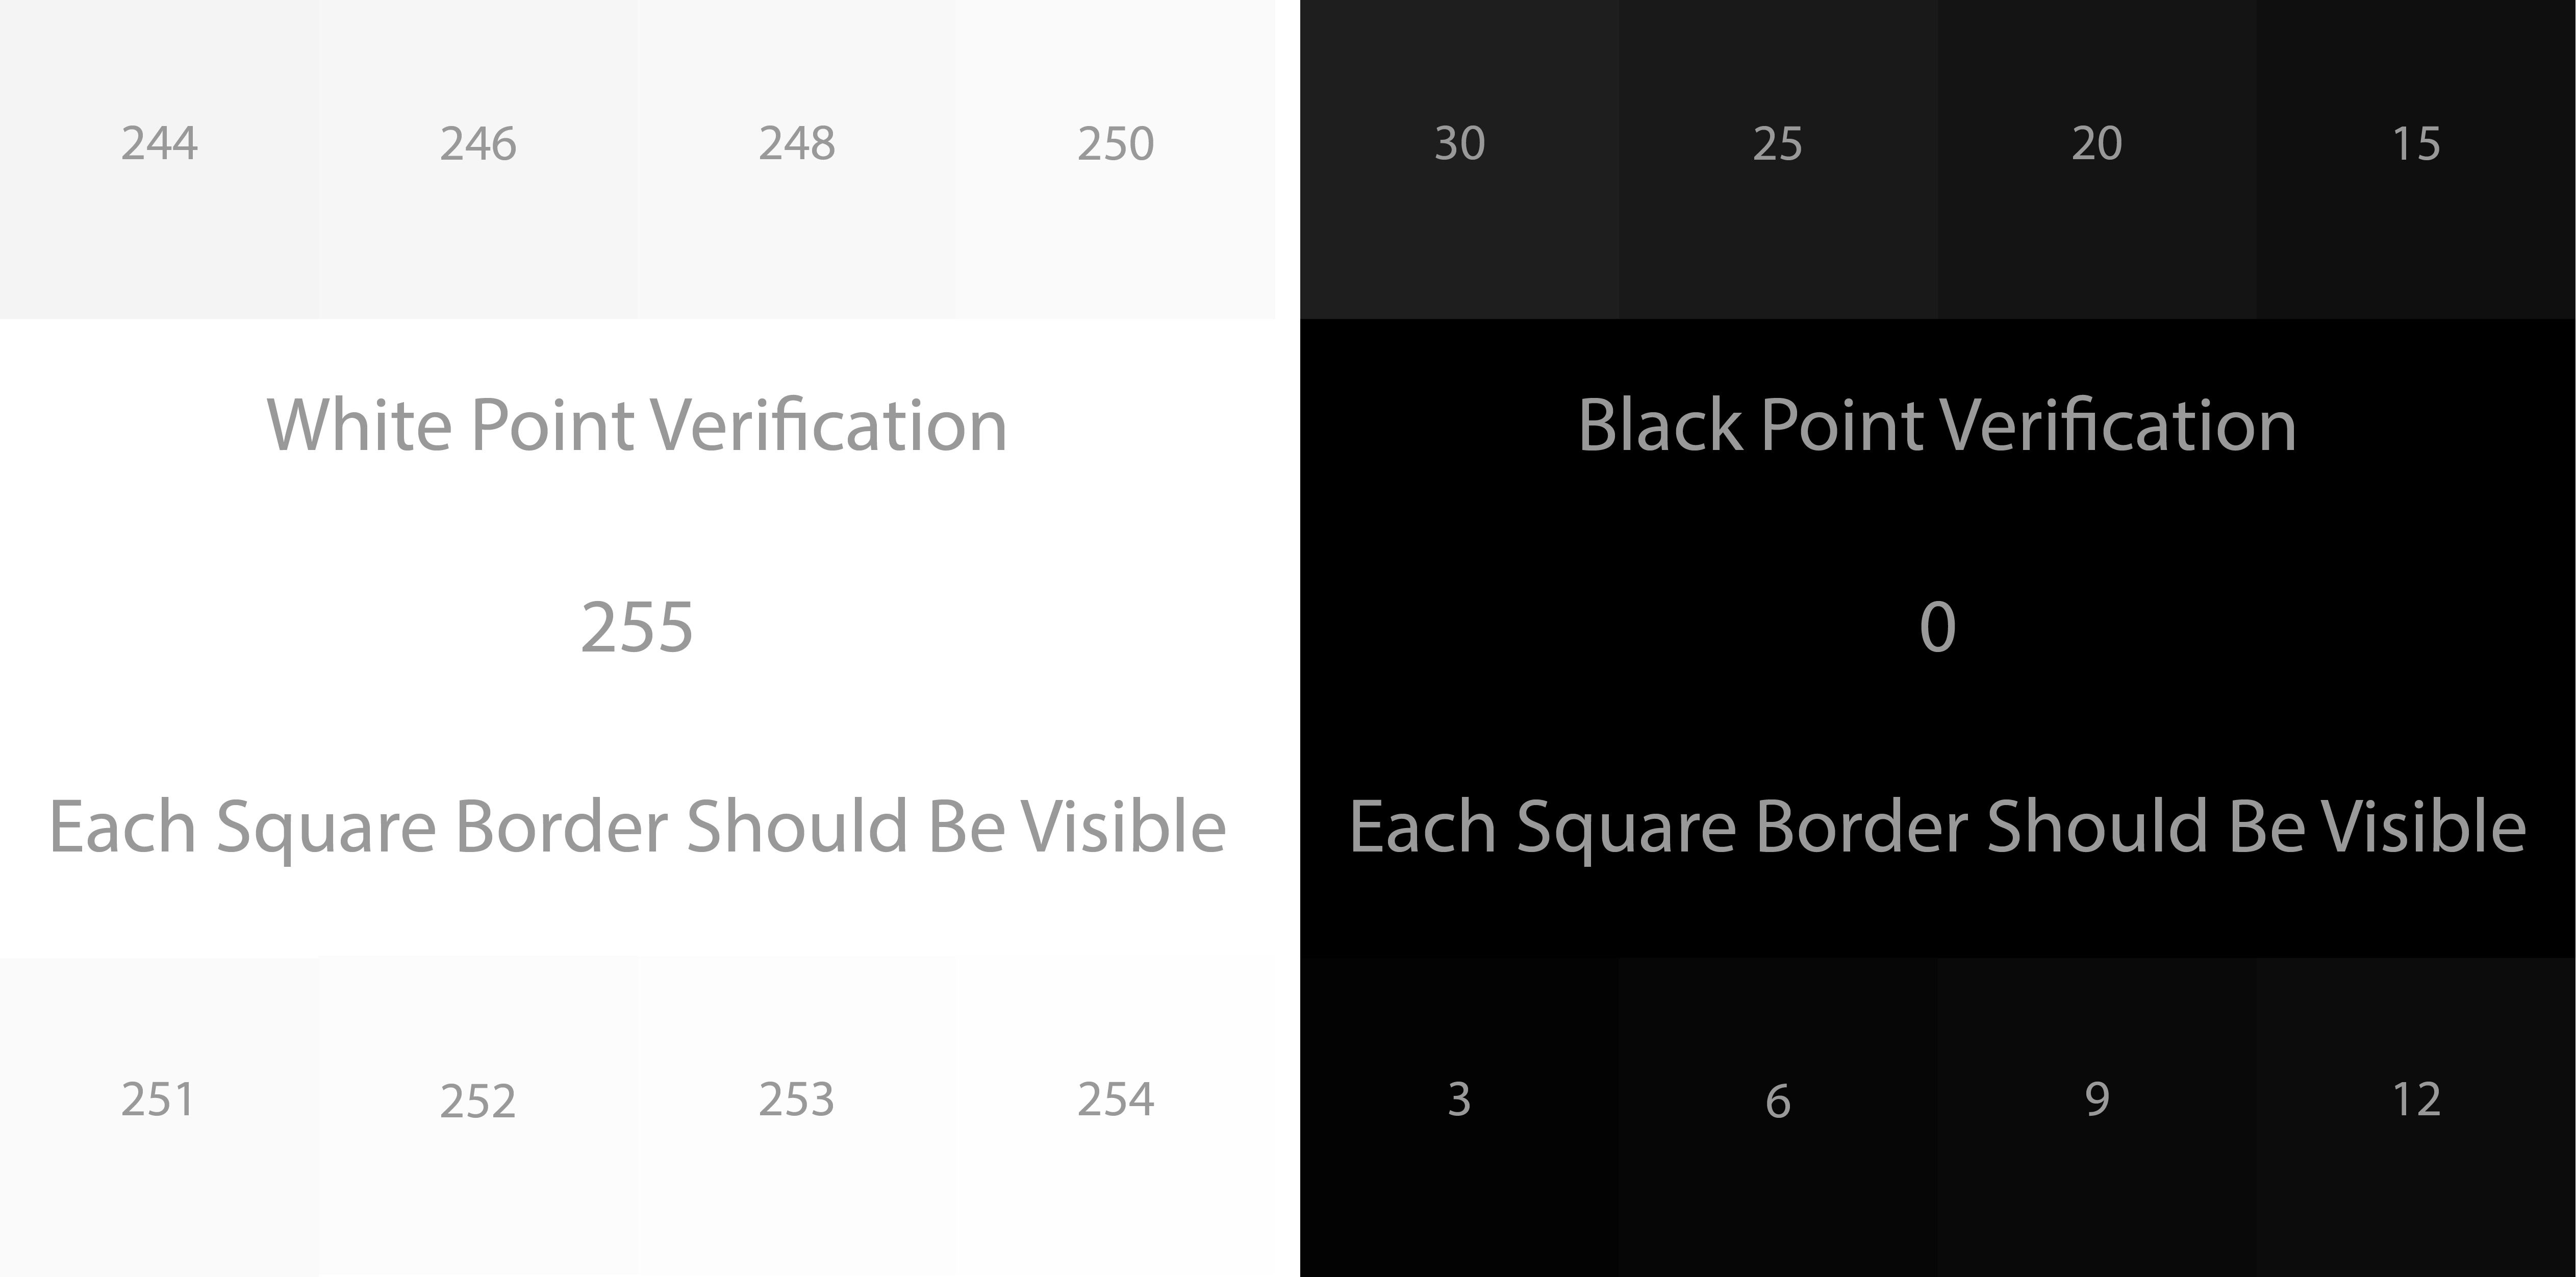
On the upper and lower portion of the images, each number is surrounded by a square that is colored with that value. The middle portion is either absolute white – 255, or absolute black – 0; for an 8-bit color space. If your display is over saturating your brights or under saturating your darks, you won’t be able to make out the contrast difference between the squares and the middle portion of the image. The better the calibration of your display, the more squares you’ll be able to distinguish in each image.
Basic vs. external hardware calibration
Once the display is using its default settings and has been turned on for roughly 30 minutes, it can be calibrated. Basic calibration software is included with most operating systems, but normally allow for minor correction using the display’s settings and the human eye. This calibration should ensure that the gamma, brightness, and contrast are not set too high or too low. However, it is often difficult to tell which setting is the best one due to the subjectivity of the observer.
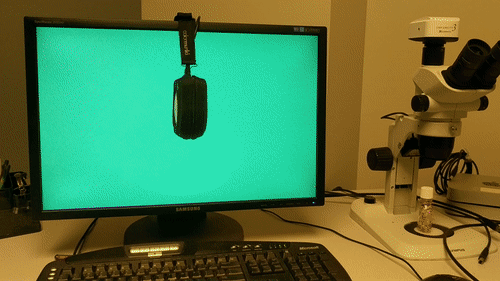
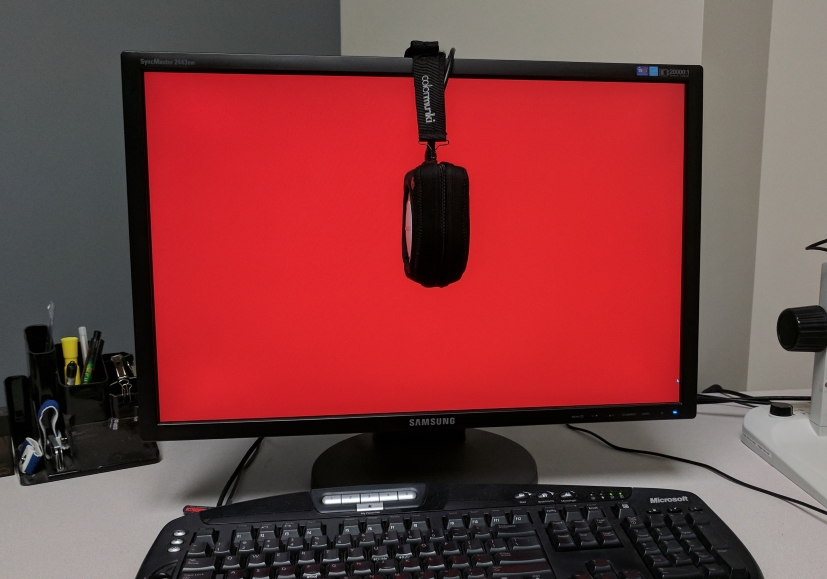
This problem can be overcome through external hardware calibration. Devices like the Spyder5 from datacolor and the ColorMunki from X-Rite (shown above) are easy and inexpensive ways to calibrate your display using external and impartial hardware. These devices work by displaying a range of colors and shades and reading the output from the display. The difference between the measured and expected output is then calculated and turned into a lookup table which is then applied to the computer’s video card.
For example, if a computer wants to display a value of 192 for the red channel (RGB values of: R=192, G=0, B=0), it will pass this information along to its video card which then sends it to the display. Without correction, the monitor’s interpretation of this value could actually be different than the intended color. External hardware calibration allows a closed loop verification to take place to ensure that red RGB value of 192 is correctly being displayed as the standard’s definition of red=192. If the software detects a variation from the standard, it applies a lookup table to the computer’s video card to shift the input value it receives to the value that will render the desired standardized output. In the example graphic below, the lookup table shifts the red RGB value of 192 to 207. The video card would then transmit 207 to the display to achieve the correct color output for 192.

Hardware calibration should be performed monthly to account for the constant changes in the display’s output intensity. There are a number of factors that will impact the display’s image output, including humidity, pollutants, and ultraviolet light. These factors all contribute to monitor wear which is perfectly normal. The important thing to remember is to regularly calibrate the display to compensate for this behavior.
Monitor calibration is an essential step in the configuration of a vision system, especially when color accuracy and consistency are of significant importance. It is highly recommended to purchase a hardware-based calibration device to calibrate your display as they are far more accurate than a human observer and, unlike humans, have no bias or doubt. They also provide custom calibration results for each vision system in its physical environment – with some taking into account ambient lighting conditions to perform their assessment.
Learn More
To learn more, check out the Lumenera white paper: Building an Outdoor-Ready Vision System.
And, sign up for our newsletter to automatically receive regular updates from Lumenera.
